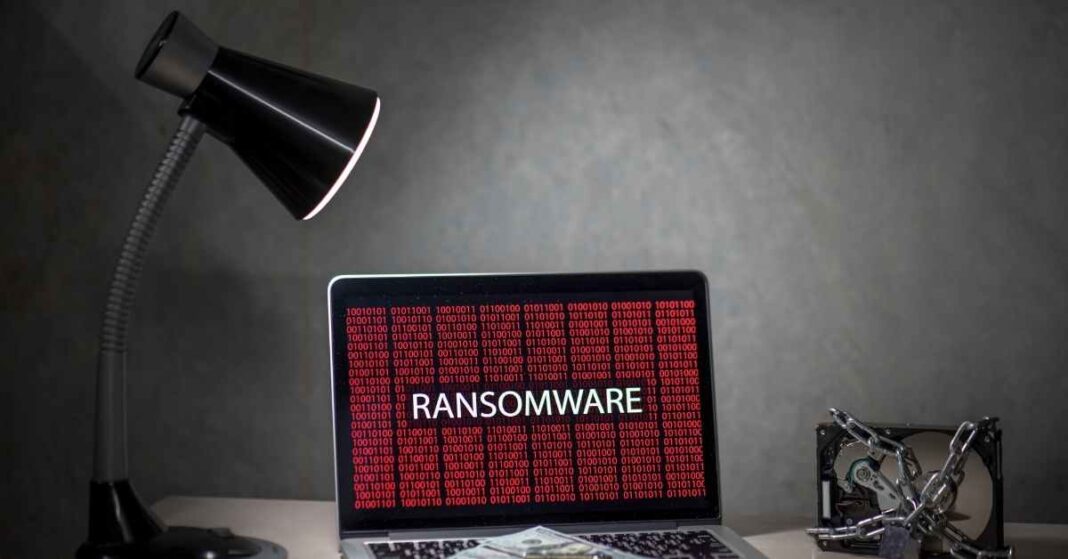
Ransomware is malware that enters computers and mobile devices connected to the Internet by preventing access to information, usually by encrypting it and demanding a ransom so that it can be made accessible again or not disclosed.
The malware tries to spread to the rest of the systems connected to the network, thus putting business continuity at risk.
It is one of the security incidents that most affects companies and manifests itself when the information has already been kidnapped. It’s not always possible to reverse their effects, particularly if we can’t decrypt them and don’t have backups.
Today we have specific tools for the Windows operating system that can help us in the recovery process and that we teach you how to use in this article. If you have suffered such an attack and are trying to save your data, never consider paying the ransom as an option.
Start Your Computer in Safe Mode with Networking
In this first step, we start the computer safely with networking to prevent malicious drivers and services from loading when Windows starts. This mode is chosen because it starts Windows in a primary state, using a limited set of files and drivers.
Windows 10 or Windows 8
Before entering safe mode, it is necessary to enter the Windows Recovery Environment (RE). To do this, you need to perform the following steps:
- Press the Windows + I keys on your keyboard to open settings. If that doesn’t work, select the “Start” button and then “Settings.”
- When the Windows Settings window opens, select “Update & Security” and click “Recovery.” Under “Advanced startup,” like “Restart now.”
Now that you’re in the Windows Recovery Environment, follow these steps to get into safe mode:
- On the “Choose an option” screen, select “Troubleshoot.”
- On the “Troubleshoot” screen, click the “Advanced” button.
- Once in “Advanced Options,” click on the “Startup Settings” option. In Windows 8, this option is called “Windows Startup Settings.”
- Under “Startup Settings,” click “Restart.”
- After the computer restarts, you will see a list of options, select option 5 from the list or press F5 to enter safe mode with networking.
Windows 7
- Remove the CDs and DVDs from the computer if there are any and restart it.
- When the computer starts, you will see that the hardware of the computer begins to be listed on the screen. When you know this information, press the F8 key repeatedly until the advanced boot options appear.
- Use the arrow keys until the Safe Mode with Networking option is highlighted, and then press the “Enter” key.
- While the computer is running in safe mode with networking, we will have to download, install and run a scan with the Malwarebytes program explained below. In some cases, problems may be experienced when trying to start the computer in safe mode. If this happens, try scanning your computer with Malwarebytes in normal mode.
Use Malwarebytes to Remove Ransomware
While the computer is in safe mode with networking, download and installs Malwarebytes by following the steps below to run a system scan:
- Download Malwarebytes through the following link: Malwarebytes download.
- Double-click the “MBSetup” file to install Malwarebytes on your computer when Malwarebytes has finished downloading. In most cases, downloaded files are saved in the downloads folder.
- You may see a User Account Control pop-up asking if you want to allow Malwarebytes to make changes to your device. If this happens, click “Yes” to continue installing Malwarebytes.
- When the installation begins, you will see the wizard guiding you through the process.
- The installer will first ask which path you want to install the program.
- To continue with the installation, click on “To my family” or “To my organization,” as appropriate, and then on “Next.”
Click done to finish the installation process.
- When the Malwarebytes installation is complete, the program will open to the welcome screen. Click the “Get Started” button.
- Once Malwarebytes is installed, you can choose between the free and premium versions under “Activate subscription.” The premium edition includes preventative tools such as real-time scanning and ransomware protection. However, for this guide, we will only use the free version, which allows us to clean the computer. Therefore, click “Scan.” Malwarebytes will automatically update your antivirus database and start scanning your computer for malware and other potential malware.
This process can take a few minutes.
When the scan is complete, a screen will appear showing the malware infections detected. To remove the malicious files found, click the “Quarantine” button.
For Malwarebytes to remove malware and other malicious programs in quarantine, go to “Detection history” and click “Delete.”
To complete the malware removal process, Malwarebytes will ask you to restart your computer. The computer should boot into a normal mode when the malware removal process is complete. If not, restart your computer to get out of the safe way and continue with the rest of the instructions.
We recommend running another scan with Malwarebytes once you’re back in normal mode to ensure all malicious files are removed.
Also Read: Benefits of Digitization in Companies


![Imginn Instagram Story and Photos Anonymous Viewer Tool [Free] Imginn](https://www.iblogtech.com/wp-content/uploads/2023/09/imginn-150x150.webp)


